Fix inconsistent AI videos with a 4-step workflow for character, motion, and audio consistency. Build pro-looking, on-brand AI videos that convert.
A 4-Step Workflow For Consistent Pro-Level AI Videos
AI video tools are incredibly powerful in late 2025—but they still have one stubborn problem: inconsistent characters.
One moment your AI-generated host has short brown hair, the next scene they've got blond curls and a different face shape. Outfits change, lighting jumps, lips don't quite match the words, and the whole video starts to feel… untrustworthy.
For brands, creators, and marketers, that isn't just a visual annoyance—it's a credibility and conversion problem. If you're using AI video for ads, explainers, UGC-style clips, or training content, visual and audio consistency directly affects watch time, engagement, and ultimately, leads.
This guide walks you through a 4-step workflow to fix inconsistent AI videos and produce stable, professional-looking content. You'll learn how to lock in your AI character's look, control motion, clean up audio, and avoid the common traps that make AI videos look "AI-ish" instead of studio-grade.
Why AI-Generated Characters Change Look Between Scenes
Before you fix inconsistency, it helps to understand why it happens in the first place.
Most modern AI video tools generate frames based on prompts, model training, and sometimes reference frames. Each generation pass is a fresh sampling of millions of possibilities. Without the right constraints, your character is effectively "recast" every time.
Common reasons AI characters look different across clips:
-
Vague or shifting prompts
If one prompt says "young woman speaking to camera" and another says "professional woman giving tips," the model may interpret those as different people. -
No character reference image
Without a fixed visual anchor, the AI improvises face shape, hair, clothing, and even age on each run. -
Changing camera descriptions
"Close-up," "medium shot," and "full-body shot" can all cause the model to reinterpret anatomy, proportions, and style. -
Different seeds or models
Using multiple tools or random seeds without reference control can introduce subtle (or not-so-subtle) character changes. -
Audio-driven lip-sync only
If your pipeline relies on separate lip-sync tools, minor timing or phoneme-detection differences between clips can make the same face look "off" from scene to scene.
The solution is to design your workflow so that every clip knows exactly who the character is—and how they should move, sound, and appear.
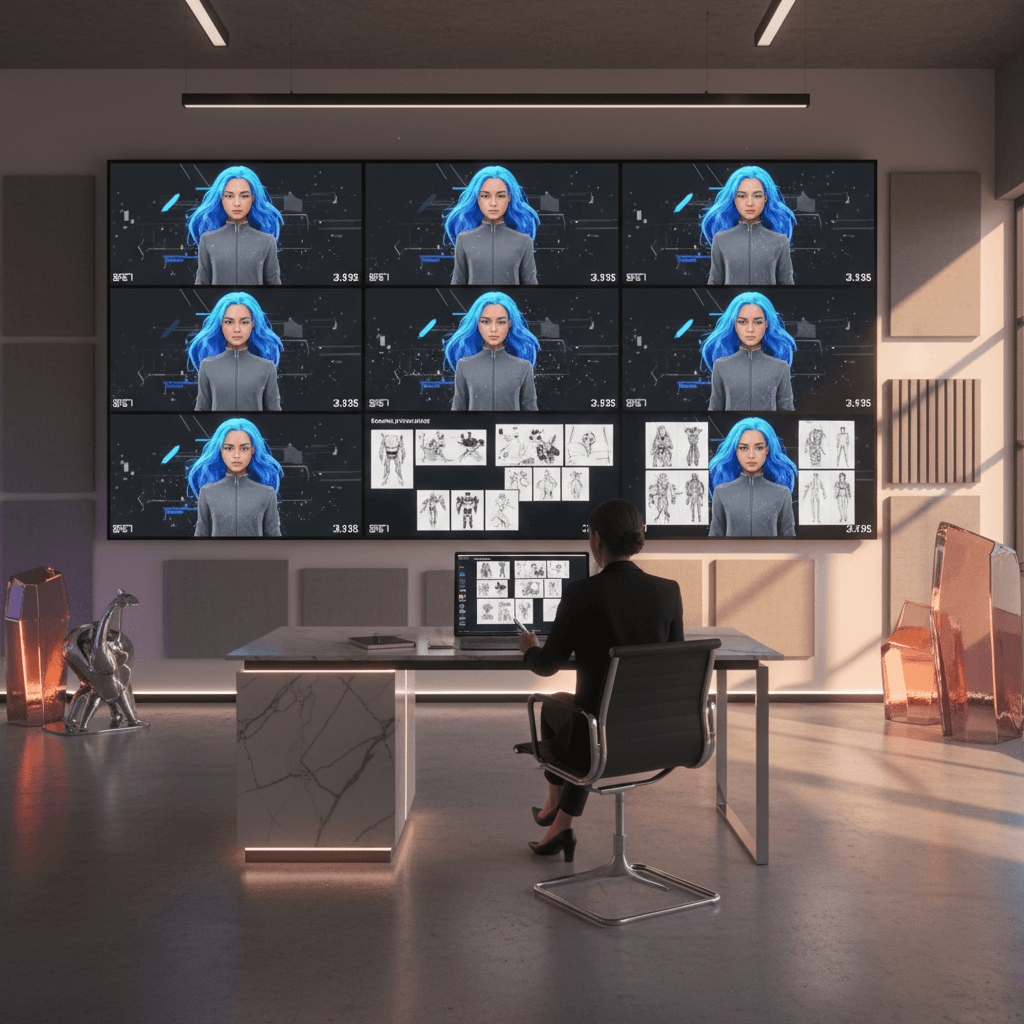
Step 1: Create a Strong Character Reference Image (Your Anchor)
The foundation of AI character consistency is a Character Reference Image. Think of it as your casting photo, wardrobe snapshot, and visual brand guideline in one.
What Makes a Good Character Reference Image?
Your reference image should:
- Clearly show the face with good lighting
- Match the style of your final video (realistic, cinematic, stylized, anime, etc.)
- Be clean and sharp (no heavy artifacts or weird distortions)
- Show at least one neutral pose and expression
If your AI video tool allows multiple references, prepare:
- A neutral front-facing headshot (for close-ups and talking segments)
- A mid-shot or full-body shot (for gestures, walking, product interaction)
How to Generate or Capture the Image
You can:
- Generate the reference using an image model with a detailed prompt (age, gender, hairstyle, clothing style, vibe)
- Or, start from a real photo (yourself, an actor, or a stock model) and stylize it
When prompting, be extremely specific about persistent traits:
"30-year-old Latina woman, medium-length straight dark hair, warm brown eyes, soft natural makeup, blue blazer, white shirt, speaking confidently on camera, cinematic but realistic style, soft studio lighting."
Once you have a strong image:
- Name and store it properly (e.g.,
ai-host-lena-ref-v1.png) - Reuse the same reference across all tools and scenes
- Avoid "improving" it mid-project; consistency beats perfection
This image becomes the non-negotiable anchor for your AI character.
Step 2: Design Stable Starting Frames And Visual Style
With your character reference in place, your next goal is to define how each scene should look before you animate anything.
Lock Down Your Visual Rules
Create a short "visual style sheet" for your AI videos that specifies:
- Aspect ratio & resolution (e.g., vertical 9:16 for Reels, 16:9 for YouTube)
- Lighting style (soft studio, natural daylight, dramatic, etc.)
- Color palette (brand colors, muted tones, high contrast)
- Camera framing (talking head mid-shot, over-the-shoulder, screen demo inset)
This helps your prompts stay consistent:
"Same woman as reference image, mid-shot, center-framed, soft studio lighting, shallow depth of field, brand colors in background, 16:9, realistic cinematic style."
Generate Starting Frames For Each Scene
Instead of jumping straight to full video generation, first generate key starting frames—essentially your opening still frame for each segment.
For each scene:
- Use the same character reference image.
- Use a similar or identical style prompt (only change what truly must change: location, prop, expression).
- Check for:
- Face similarity to reference
- Clothing consistency (same shirt, hair, accessories)
- Background and lighting alignment with your brand
Lock in 1–3 strong starting frames per scene. These are your visual anchors for the animation or video generation step.
If a frame looks off, regenerate before moving forward. Fixing problems here is far cheaper and faster than trying to correct them after multiple clips are rendered.
Step 3: Write Smarter Motion Prompts And Scene Directions
Most creators over-focus on what the character looks like and under-focus on how the character moves. The result is stiff, awkward or inconsistent motion.
To get natural, repeatable motion, treat your prompts more like a director's script than a quick description.
Break Your Script Into Motion-Ready Segments
Take your full video script and split it into short, focused beats:
- One main message or sentence per clip (5–15 seconds)
- One primary action or gesture per clip
For each clip, define:
- What is being said (text for TTS or recorded audio)
- What the character is doing (gesturing, walking, pointing)
- What the camera is doing (slow zoom, static, pan left)
Example motion prompt:
"Same woman as reference image, mid-shot. She stands facing camera, speaking calmly. She occasionally gestures with her hands, small natural movements, no exaggerated gestures. Camera is mostly static with a very subtle slow zoom in."
Keep Motion Consistent Across Clips
To avoid jarring differences between scenes:
- Reuse motion phrasing for similar segments (intro, tips, outro)
- Limit big changes (sitting vs standing, wide vs close-up) to intentional transitions
- Specify what should not happen: "no sudden head turns, no rapid camera movements, no dramatic zooms"
If your tool supports it, use your starting frame as the first keyframe, then apply motion prompts on top. This preserves facial identity and overall look while allowing for natural movement.
Step 4: Master Audio Consistency And Sync
Even if your visuals are rock solid, inconsistent audio can destroy the illusion of a cohesive video. Viewers notice when tone, loudness, or lip-sync changes mid-way.
Choose A Voice And Commit To It
Whether you're using AI text-to-speech or a human recording:
- Use one voice per character across the entire video
- Keep microphone setup, distance, and room the same for human recordings
- For AI voices, keep tone, speed, and emotion settings consistent
Document your audio settings:
- Voice name or profile
- Speed / pitch preferences
- Style (conversational, authoritative, friendly, etc.)
Normalize And Clean Your Audio
Before feeding audio into your video generation or lip-sync tools:
- Normalize loudness across all clips
- Apply light noise reduction and remove clicks/pops
- Trim leading/trailing silences so timing is predictable
This makes it far easier for AI lip-sync systems to produce stable, believable mouth movement without sudden shifts.
Fixing Lip-Sync And Timing Issues
If some clips look slightly off:
- Nudge or trim audio so that phonemes line up better with visible mouth shapes
- Regenerate only the affected segment rather than redoing the entire video
- When in doubt, choose the take that preserves face stability over "perfect" lip movement—viewers forgive small sync issues more easily than a changing face
Advanced Tips For Handling Multiple AI Characters
Many marketing and training videos require more than one AI character—a host, a customer, a colleague, or even a panel.
Give Each Character A Clear Identity
Define a mini style guide per character:
- Name and role (e.g., "Host – Alex", "Customer – Jordan")
- Reference image(s) for each
- Distinct clothing style and color palette
- Distinct voice and speaking style
When prompting, always reference which character you're using, not just "a person."
"Same man as Alex's reference image, 35-year-old, casual smart outfit, speaking to camera…"
Avoid Common Multi-Character Mistakes
-
Characters merging or swapping faces
Use separate scenes or clear composition instructions: "Alex on the left, Jordan on the right, both matching their reference images." -
Voices that sound too similar
Pick voices with clearly distinct tone, accent, or pitch so viewers instantly recognize who is speaking. -
Unclear POV
Use camera directions to signal who the viewer is "with" at any moment: "Over-the-shoulder from Alex looking at Jordan," "cut to Jordan close-up," etc.
Common Mistakes To Avoid In AI Video Creation
Even with a solid workflow, a few pitfalls regularly derail otherwise good projects.
-
Changing prompts too aggressively between scenes
Keep 80–90% of your prompt identical; only change what truly needs to change. -
Upgrading models mid-project
Switching to a new model can subtly change faces, color, and style. Finish the project on the model you started with, then upgrade for the next one. -
Ignoring brand alignment
Consistency isn't just about the character—it's about backgrounds, colors, fonts (if added in editing), and overall storytelling tone. -
Skipping test renders
Always render short test clips (5–10 seconds) and view them in sequence to catch inconsistencies early.
Putting It All Together: Your Blueprint To Pro AI Video
To recap, the fix for inconsistent AI videos is a repeatable, disciplined workflow, not just better tools:
- Anchor your character with a strong, reusable character reference image.
- Design stable starting frames and a consistent visual style before animating.
- Write motion-aware prompts that treat each clip like a directed scene.
- Control audio and lip-sync so your character's voice and timing stay stable.
Teams that adopt this approach stop treating AI video creation as a lottery and start running it like a production pipeline. That's exactly what separates casual AI experimentation from scalable, lead-generating video systems.
As AI tools evolve through 2026 and beyond, the teams with clear workflows will adapt the fastest—and produce the most consistent on-brand content.
What would change for your marketing or content strategy if you could reliably produce studio-feel AI videos every week, with characters your audience instantly recognizes? Now is the time to build that workflow.